Are you messy?
Well, I can’t help you with your overall messiness (wink), but is your desktop a mess?
Are icons scattered all over without any order?
Do you have everything neatly in folders, but you now have a ton of folders?
Is it hard to find what you are looking for on your desktop?
I have the answer to your organizational dilemma!
Fences For Windows Software
“You want me to put fences on my windows and on top my desk?”
No! I am talking about your computer!
There is a great program that is FREE called Fences by Stardock. Fences are shaded icon groupings for your desktop to help you keep it organized. You won’t have to worry about having hundreds of icons scattered all over your computer desktop because Fences organizes them into nice little spaces. You get to choose everything about the space which makes it a fantastic option to eliminate clutter and mess on your desktop.
How To Use Fences
It is super easy to “fence” your icons into nice little spaces on your desktop. Let me show you how…
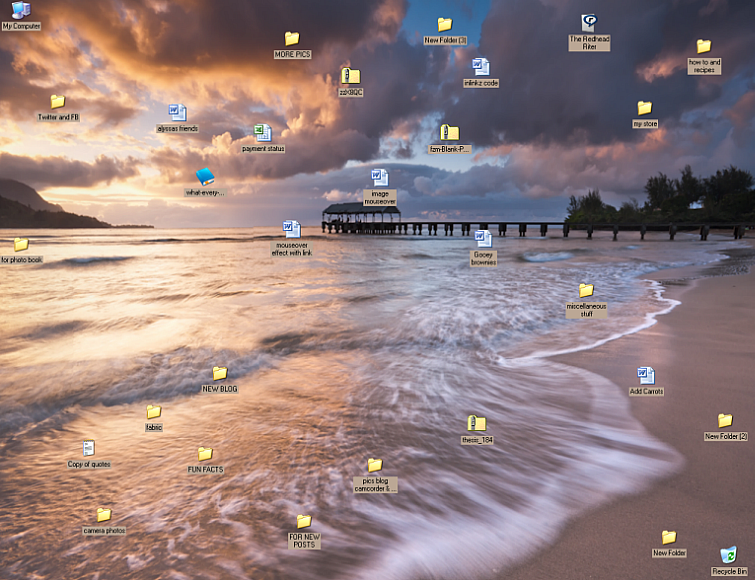
If your desktop is a version of this kind of disorganized messiness, you could use a little help.
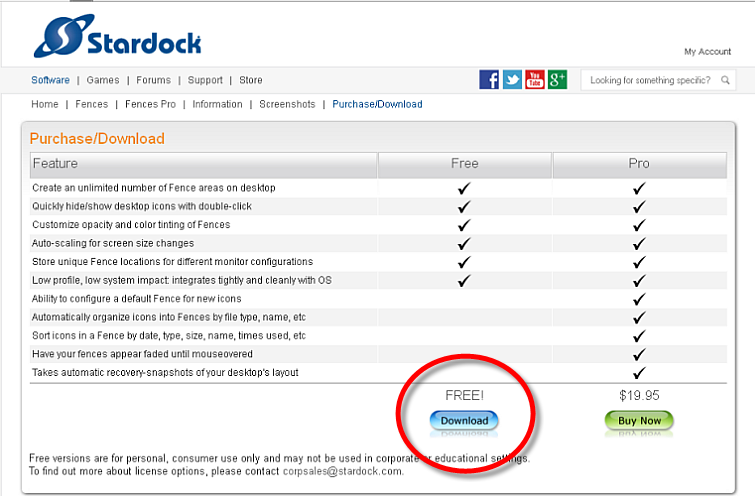
I am not getting paid for this post and I’m not an affiliate for Stardock, but I do like this nifty little program. The first step is to go to the Fences by Stardock website and click the icon for the FREE DOWNLOAD.
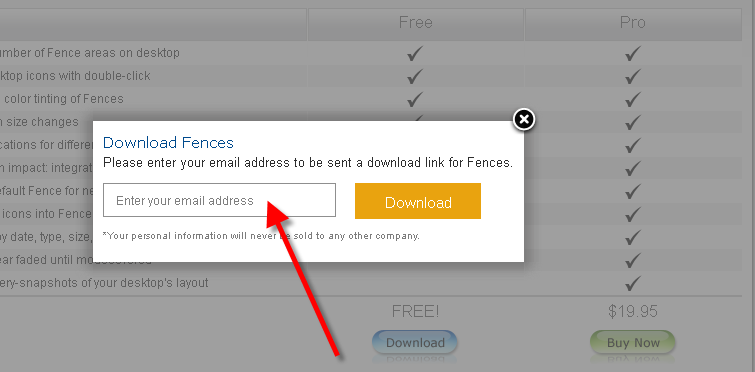
A POPUP BOX will appear asking for you to enter your email address. ENTER YOUR EMAIL ADDRESS and then click DOWNLOAD.
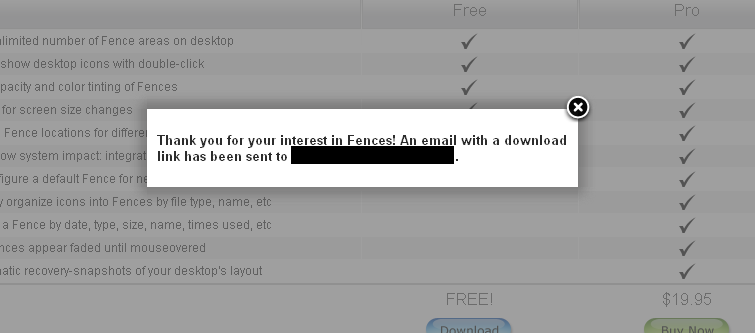
A nice little thank you popup box will appear. CLICK THE X in the top right hand corner and go to your email.
Click the link in your email and it will take you to the download page. Click DOWNLOAD NOW.

That will take you to another secure site where you need to click DOWNLOAD NOW.
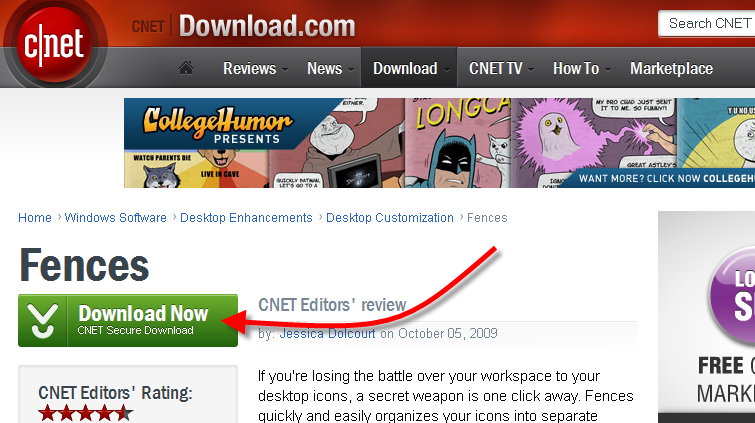
A popup box will appear. Click SAVE FILE.
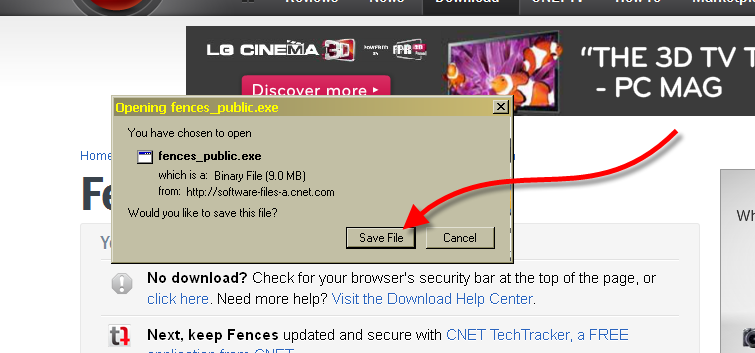
Patiently wait for the file to save. It doesn’t take long. Maybe you can sing “Row, Row, Row Your Boat,” if you get bored easily.
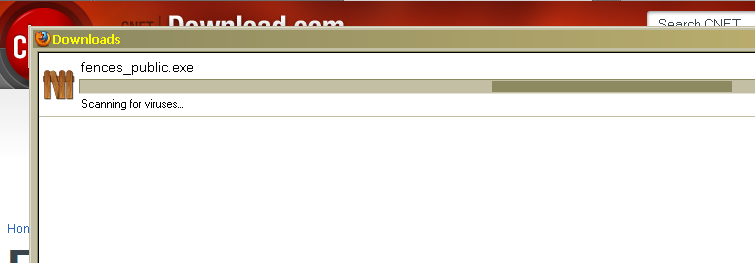
When the download is completed, the InstallAware Wizard for Fences popup box will appear. Click NEXT.
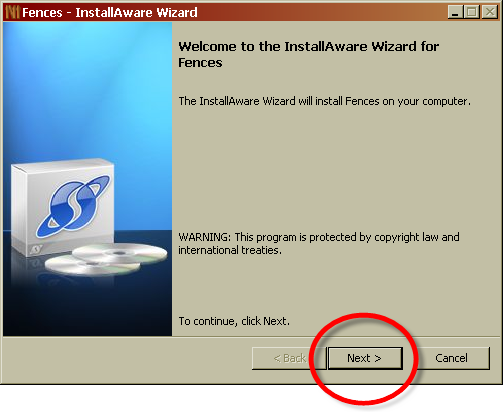
In the next screen, click the empty box next to ACCEPT TERMS and then click NEXT.
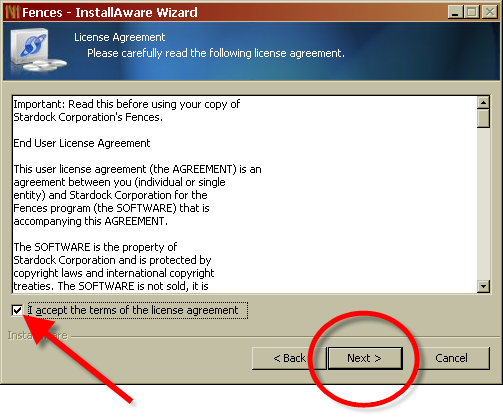
I’m sure on the next page you will read every word before you click NEXT.
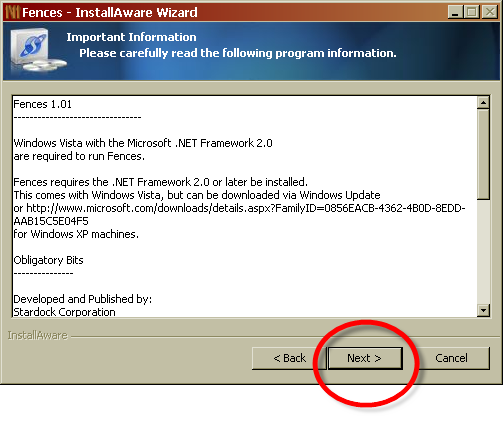
The next page will put the program in a folder called FENCES. Such a surprise! (rolling eyes) Click NEXT.
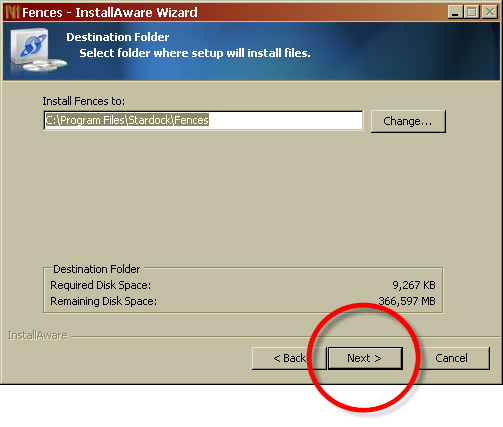
Click NEXT.
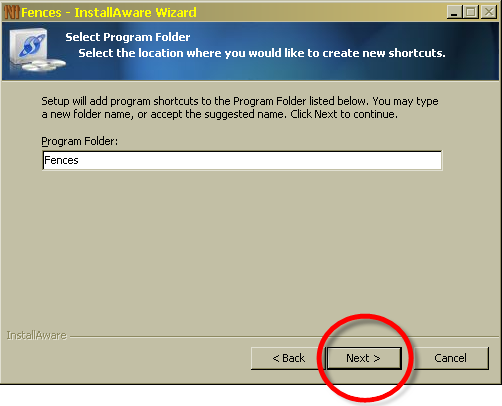
Watch patiently as the program is configured. Patiently means you don’t tap your fingers on the desk.
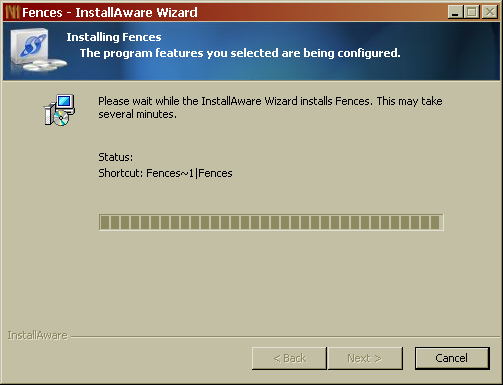
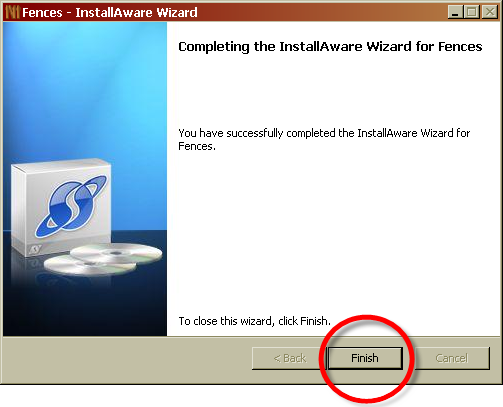
Yay! Click FINISH!
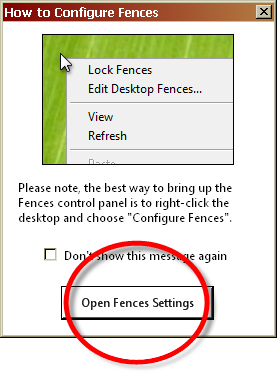
Now the fun begins! Click OPEN FENCE SETTINGS.
The first thing you want to do is to CREATE A FENCE. This SO appeals to the country girl in me…building fences like for cows or goats or a cute little lamb!
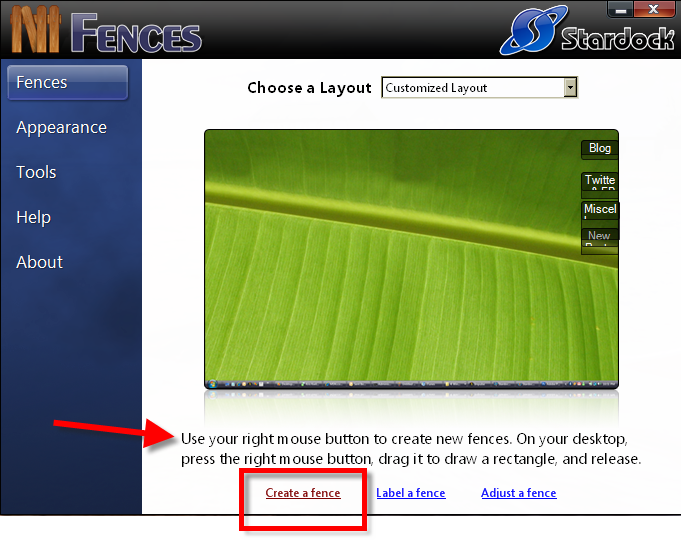
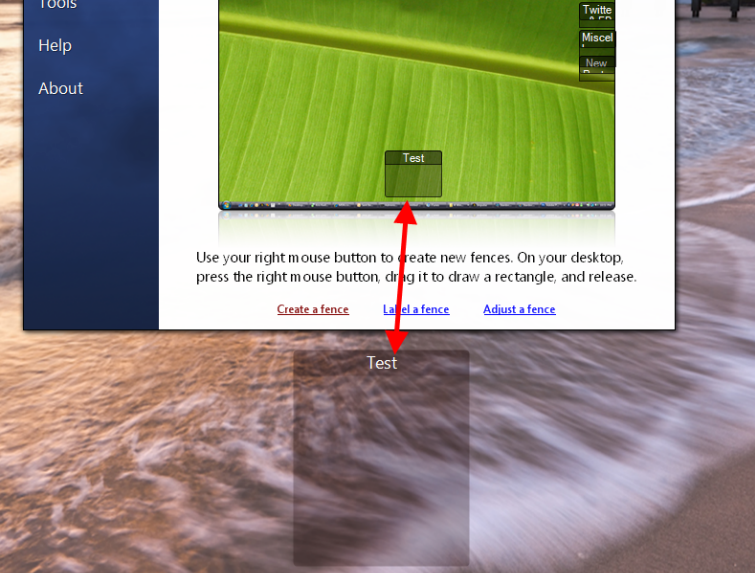
To draw the fence, use your right mouse button. On your desktop, press the right mouse button, drag it to draw a rectangle of any size and release the button. Now NAME YOUR NEW FENCE something generic like “shortcuts”.

You will see the new FENCE in the sample desktop above it. The sample desktop helps you decide on the placement of your fences. It just gives you another view. You don’t have to look at it if it confuses you.
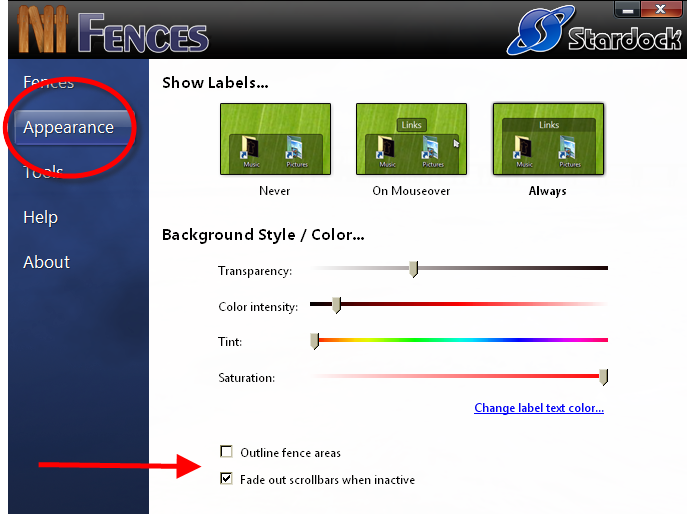
To change the appearance of your FENCES, click APPEARANCE. You can control all kinds of things on this page such as:
- Show fence labels never, on mouseover or always
- Fence transparency
- Fence color intensity
- Fence tint
- Fence color saturation
- Outline fence areas
- Fade out scrollbars when inactive
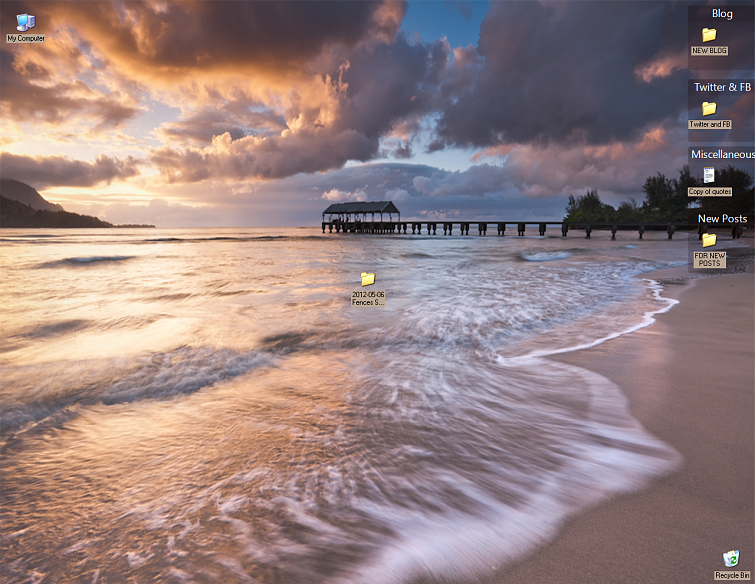
Oh my! Look at the difference a few fences made when placed on my desktop!
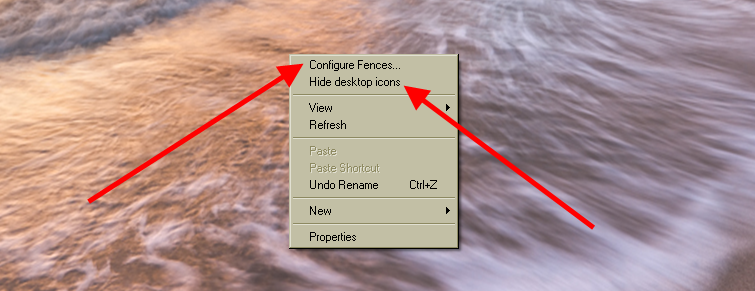
At any time you can right click on your desktop to CONFIGURE THE SETTINGS FOR THE FENCES or to HIDE THE ICONS.
Yes! I said, “Hide the icons.” Looks pretty, huh?
If you double click the blank space on your desktop at any time, you can completely hide or show all the desktop icons. So nifty!

You can scrunch the fences small. If you do so, a scroll bar will appear on the right side of the fence allowing you to scroll up and down your fence.

If you want to always be able to see everything within your fence, you can leave them big. You are the boss!
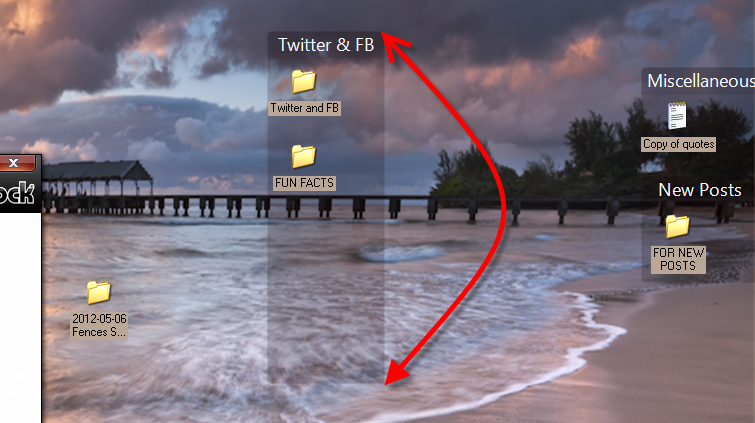
You can adjust the color so that there is hardly any transparency. The fenced areas really pop when configured this way.
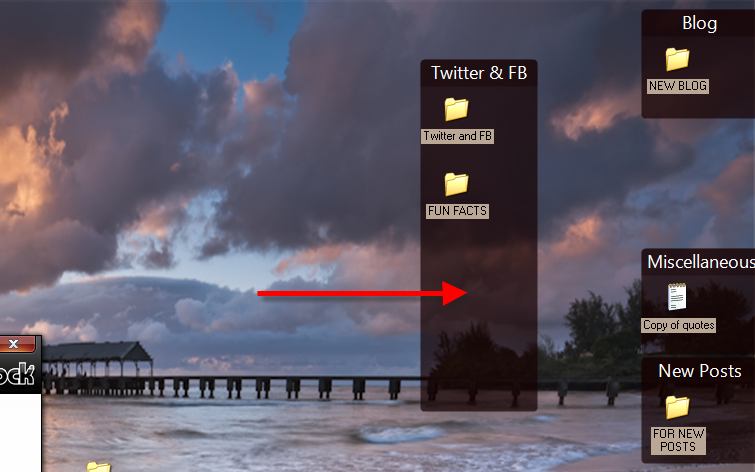
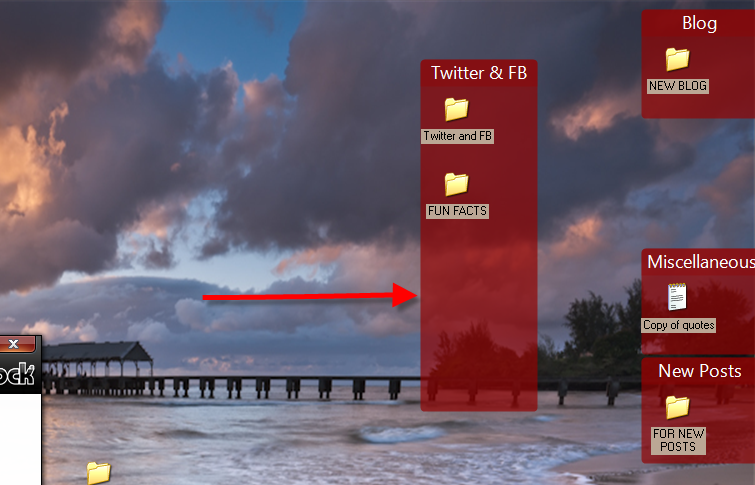
You also can control the colors, so making the fences stand out is quite easy.
I prefer the minimalist view…very small, transparent fences that help me see the desktop photo. Well, it would be a good reason to have small, transparent fences if the picture I used for my desktop was something beautiful. Instead, I have a busy photo with lots of color and a woman with a body that I envy. Yeah, the desktop reminds me to do something I just don’t like doing…exercise. However, I have beautiful fences!
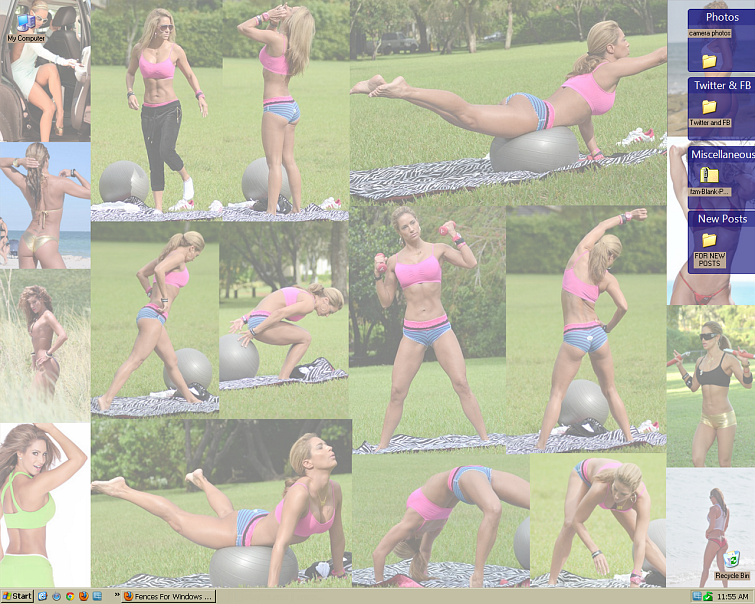
Go ahead! Round up those icons and get them into the fenced areas on your desktop. Do you need to borrow my lasso?


That looks like a very handy utility, & as always, your explanations are clear & enjoyable, well illustrated, & enthusiastically recommend the product.
Only one problem… I have a Mac
Transparent, no transparent, I simply LOVE the ball in the last desktop
Happy week Sherry!
Andy, you’re such a man. LOL