
Starting a blog can be a daunting task. Even if you are switching from Blogger to WordPress, in many ways you have to start all over again. So if that describes you, this post will show you how to create a very basic post and add an image or photo to it.
Let’s begin…
In the left navigation column of the DASHBOARD click POSTS and then ADD NEW.
A blank unpublished post will appear.
Start by NAMING THE POST.
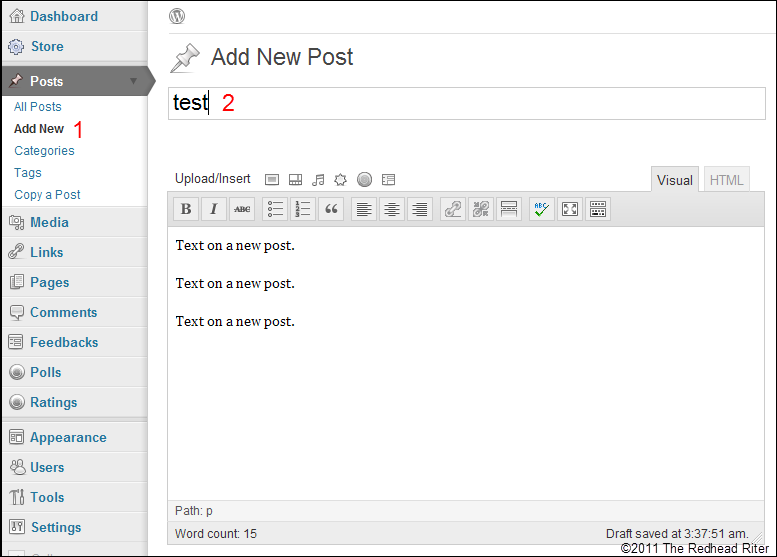
There are two ways you can view the post indicated by the two tabs – VISUAL and HTML.
The VISUAL tab will show you all the text and images without any coding.
The HTML tab will show you all the text with the coding and only the coding for the images.
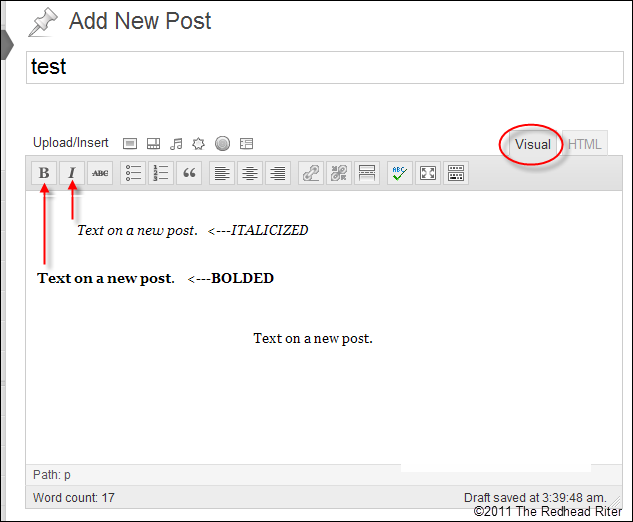
Type the text for your post in the large empty white box below the horizontal menu.
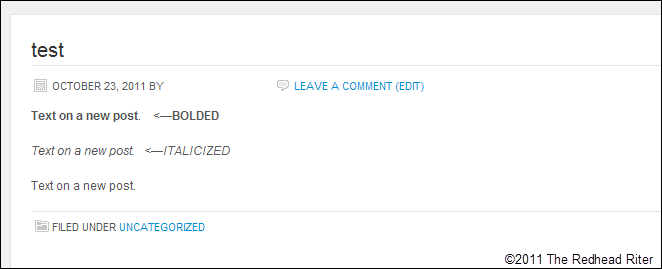
If you want the text to appear ITALICIZED, then highlight the text and then click the large “I” in the horizontal menu.
If you want the text to appear as BOLD, then highlight the text and then click the large “B” in the horizontal menu.
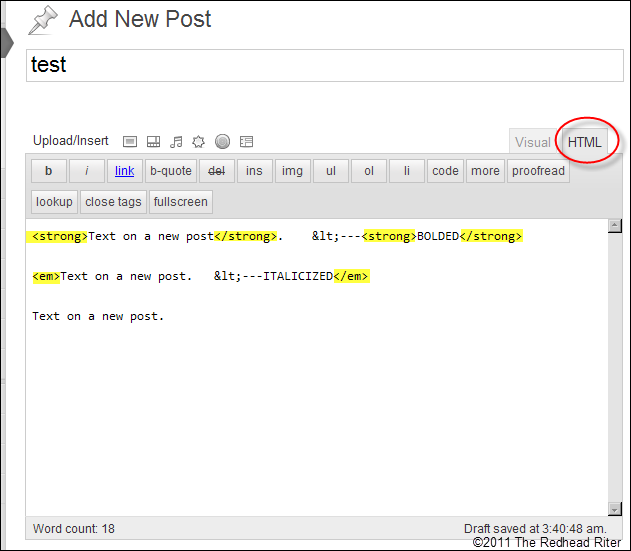
To see the coding for the BOLD and ITALICS just created, click the HTML tab.
BOLD is shown with the “STRONG” code and ITALICS is shown as the “EM” code.
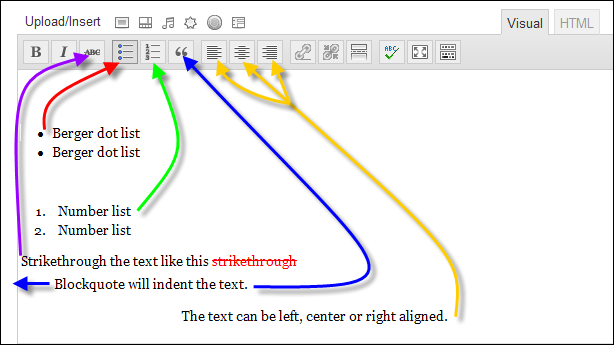
There are also other options for the text and they are located in the same menu as BOLD and ITALICS. The additional options include:
- Berger dot lists
- Numbered lists
- Strikethrough
- Blockquote
- Alignment left, center or right
After you have completed the post, click PUBLISH which is found in the column to the right of the post.
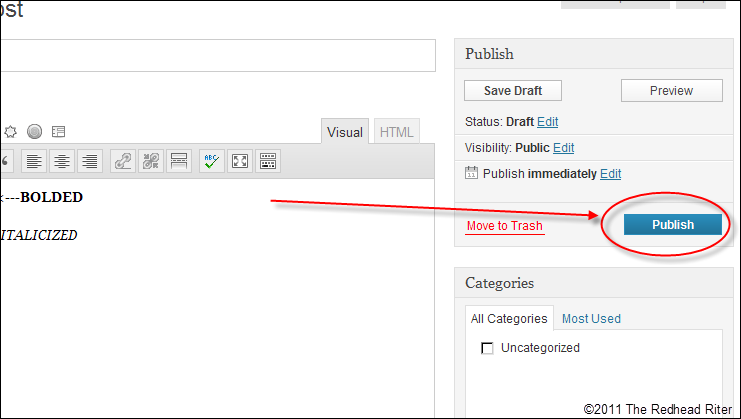
Check the blog to see the post.
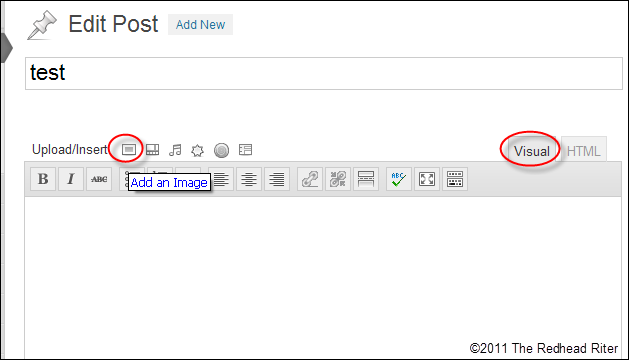
To add an image to the post, first make sure you are in editor mode.
Now click where the image is to appear in the post.
Then hover over the icons in the menu above the post.
While hovering the cursor, a pop up box will appear describing the function of the button.
Click the button designated to ADD AN IMAGE.
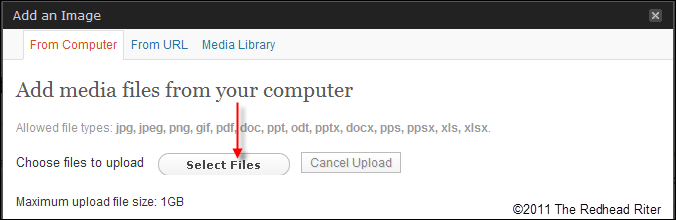
A new box will appear.
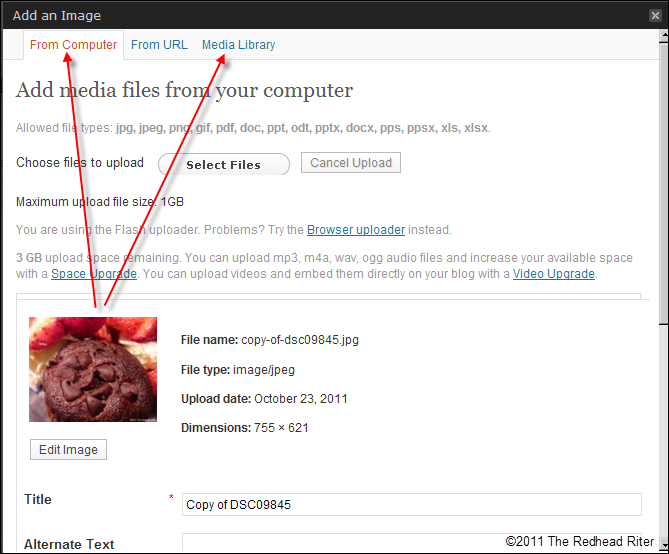
At the top of the box are three tabs. You can choose where you want to pull the image from for your post. You can choose to uploaded it FROM THE COMPUTER, FROM THE URL or from the MEDIA LIBRARY.
If the image is on your computer’s hard drive, make sure you are on the FROM COMPUTER tab and then click SELECT FILES.
A pop up box will appear showing the files on your computer.
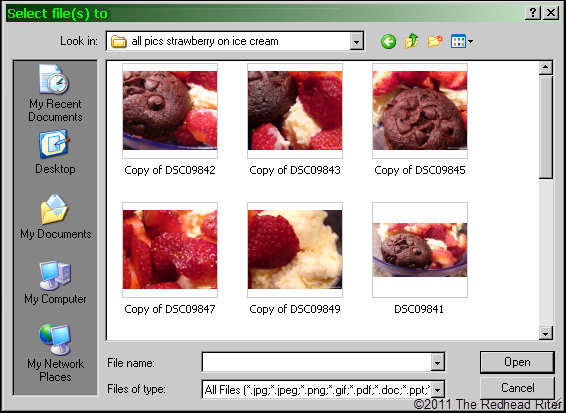
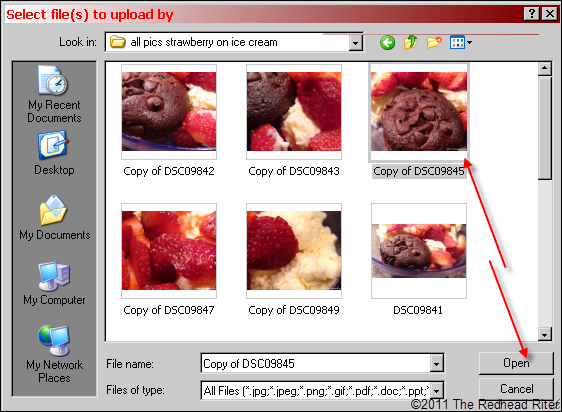
Click the image you want to insert into your post and then click OPEN.
The pop up box will disappear and the photo will appear and it be ready to save into the MEDIA LIBRARY. The MEDIA LIBRARY is where all your post photos are saved.
Before saving the image, there are several options that you may want to change.
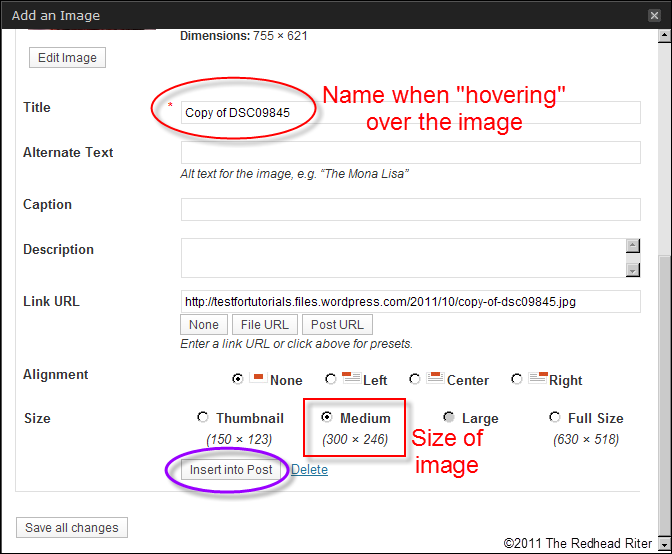
The TITLE of the image will be shown when someone hovers over the photo in your post. Instead of the gobbledygook that now appears, I could name it “Rich Chocolate Devil Cupcakes” since that is really the image showing in the photo.
This is also where you can determine the SIZE OF THE IMAGE.
When you are ready, click INSERT INTO POST to insert the image into your post.
One note so that you do not panic.
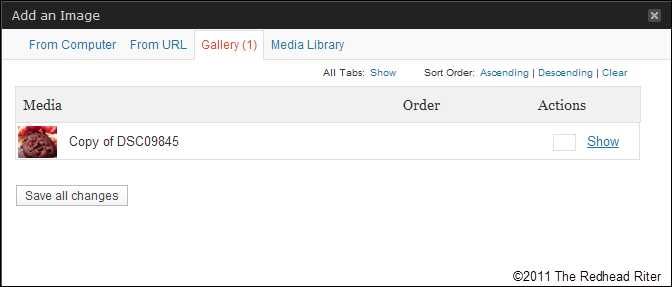
If you ever get to the GALLERY and don’t know what to do to get to your image again, click SHOW and you will be taken back to the screen showing all the image attributes.
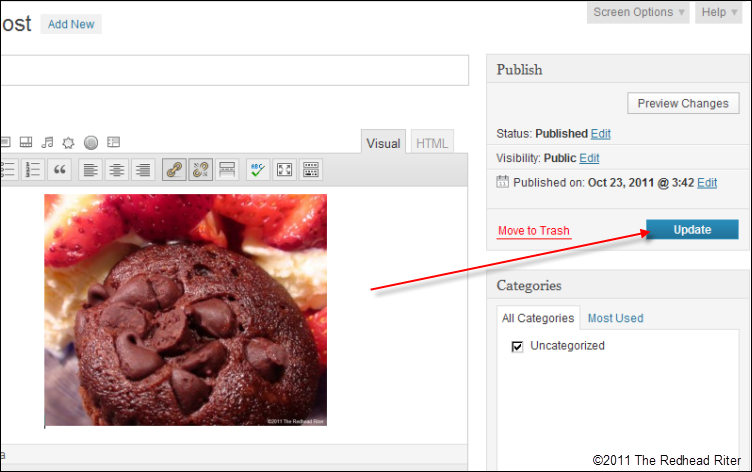
So now you have inserted the image into the post. It looks exactly how you want it to appear on your post.
Since you have previously saved your post, in the right hand column the button now says “UPDATE” instead of “PUBLISH“.
Click UPDATE to save the changes.
The image is now appearing on the blog.
When we uploaded the image from the computer, we chose the size to be MEDIUM (shown in the previous screen shots). It appears as MEDIUM on the blog, but it is really a much larger image. The image can be clicked and…
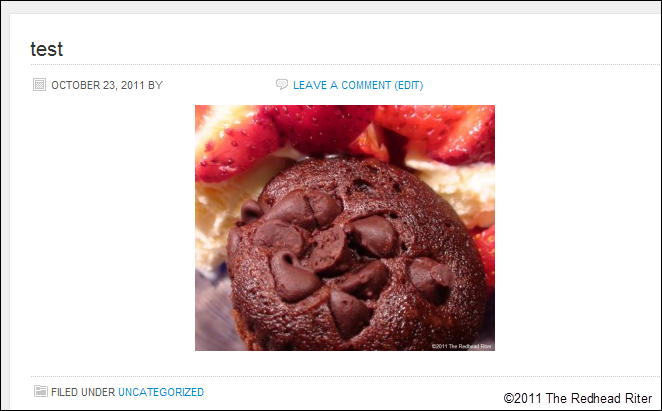
The image will appear as the original size of the photo.
I know it looks scrumptious. This photo makes my mouth ache to bite into the warm chocolate muffin. Well, if you want to make them, I provided the link for Rich Chocolate Devil Cupcakes.
Torture isn’t it?

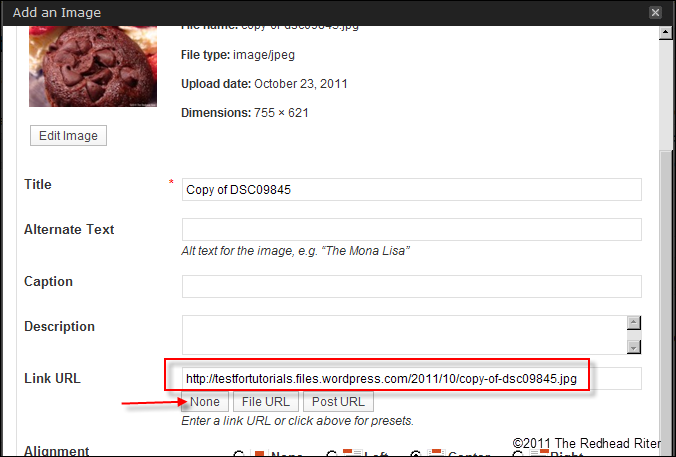
If you do not want readers to have the option of clicking on the images, you need to make a change in the image file.
This can be accomplished when you are in the step to ADD AN IMAGE.
Find the LINK URL option and click the NONE button. The link will be erased. Now the image will not be clickable.
That is how to add an image to a post in WordPress.
I’m not sure if I should say, “Happy posting” or “Bon Appetit”.


I love WordPress.
nicely done and shared my sweet bloggy friend Sending hugs and wishes for a beautiful day ahead xo
Redhead Riter, thank you, thank you, thank you for writing this post! I needed it desperately! Now I can post again on my blogs! 🙂
Editing of photographs gives a different look to your album. A photo can make a document more expressive.
Yes, it sure does.