
Turkey is delicious during any time of the year, but it is often eaten during the holidays. You don’t have to spend all day fretting over the turkey and waiting for it to be finished cooking to know if it will taste delicious or be moist if you use this very easy to follow recipe.
If it is moist without gravy,
then it is one good turkey
and that’s exactly what this recipe will give you.
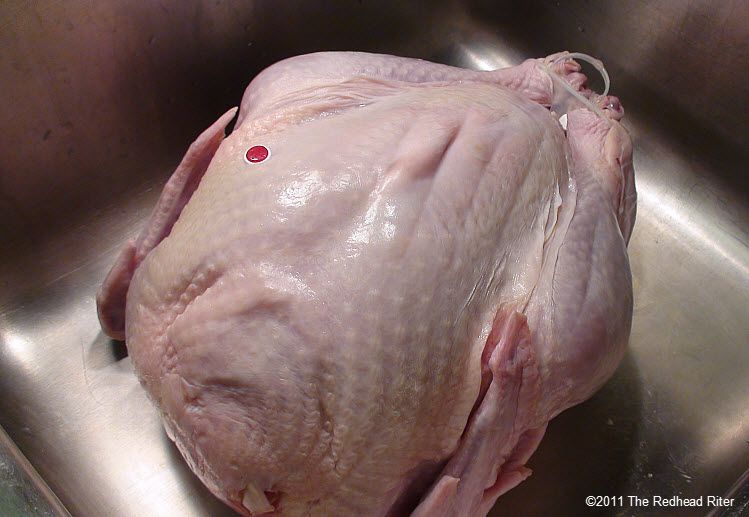
First, take the turkey out of the wrapper.
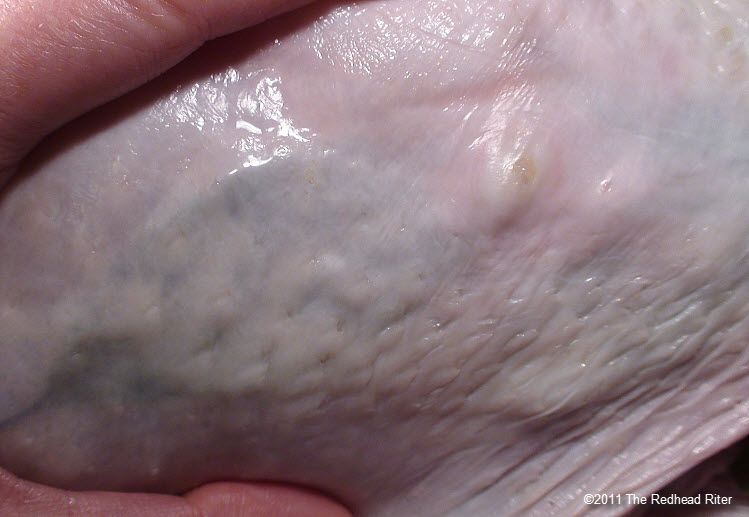
Inspect the whole thing to make sure there are no abnormalities.
Isn’t it pretty…well, you know, in a naked turkey kind of way.
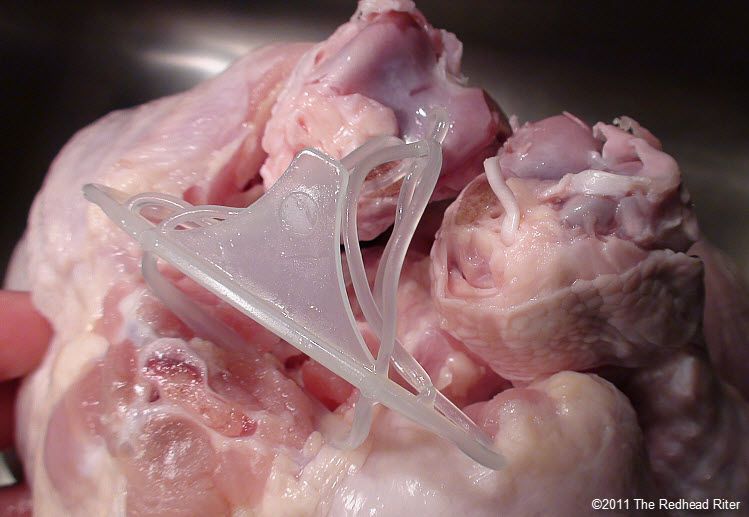
Don’t ruin the plastic clip
and you don’t have to completely separate it from the bird.
Just take the legs out of it.
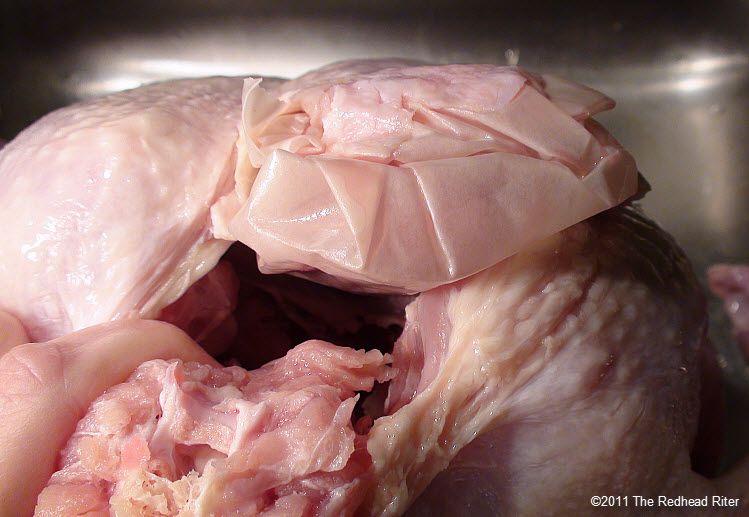
you will find a bag of innards such as the liver and heart.
Take the bag out.
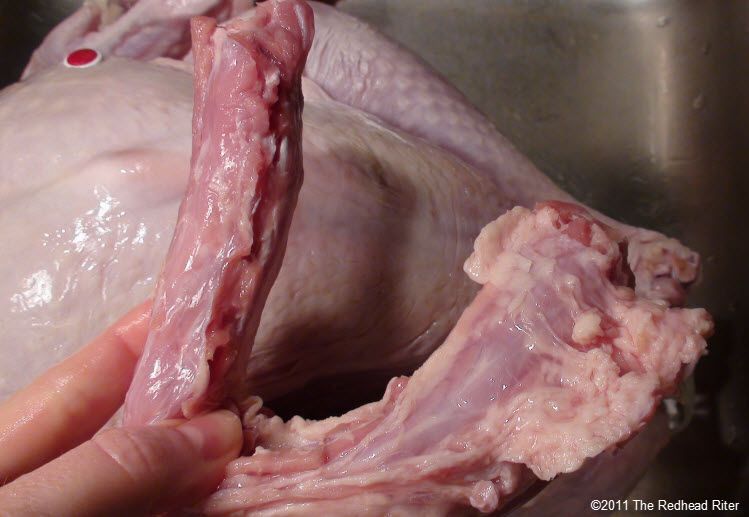
Be sure to pull it out too.
Do not discard all this stuff!
Fill the cavity full of water and rinse the innards too.
In a large roasting pan,
line the bottom with a large sliced onion.
It’s the artistic part of cooking a turkey.
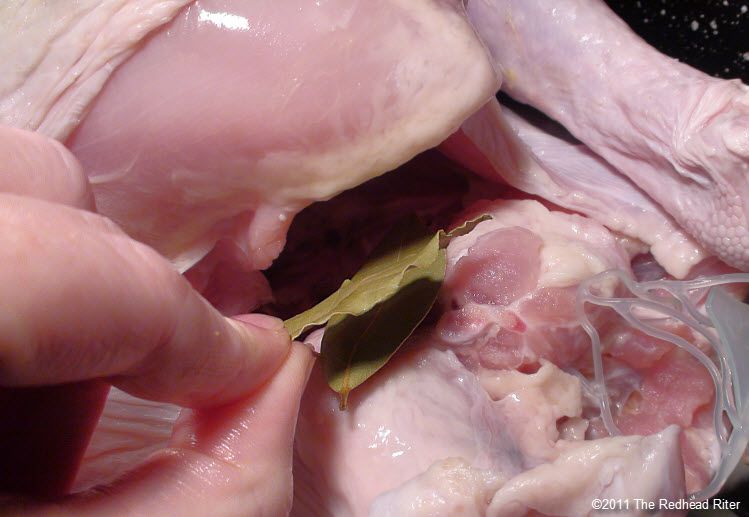
Use the prettiest bay leaves you have in the container.
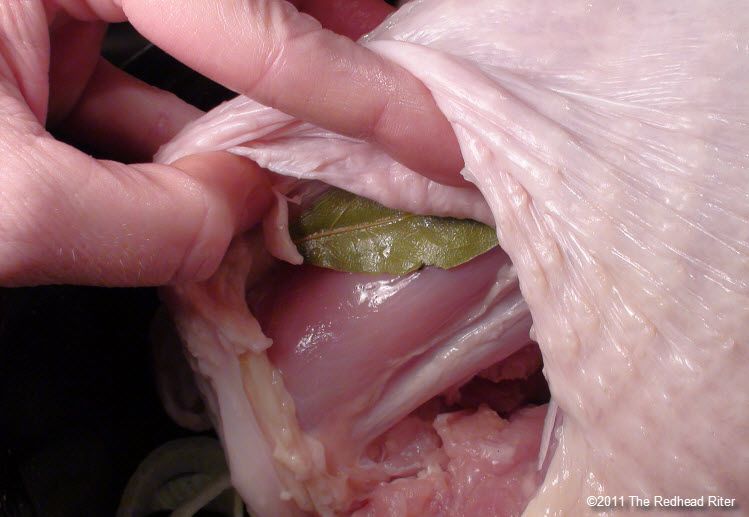
using your fingertips to avoid ripping the skin.
Softly and gently separate.
That’s the key to prevent the ripping of the skin.
You can make a design or just lay them under the skin.
Can you see the bay leaf?

of the spice mixture inside the turkey.
Tomorrow, I will show you what the turkey looks like
when it comes out of the oven
and I will also show you how to make gravy.
I know…shame on me for making you wait,
but there are just so many pictures
that I have to divide it into two days!
Yeah,
I’ve got “that” smile on my face.
For the rest of this post, go to Part II
Ingredients:
21 pound fresh, whole turkey
2 onions
10 bay leaves
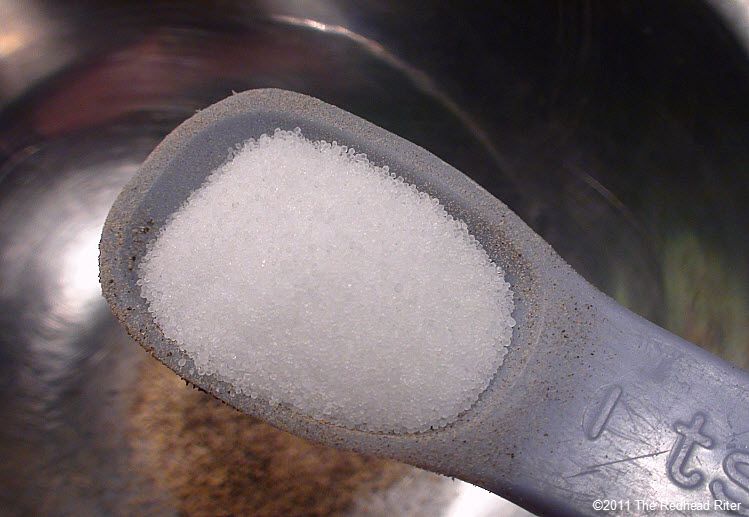
1 teaspoon pepper
1 teaspoon salt
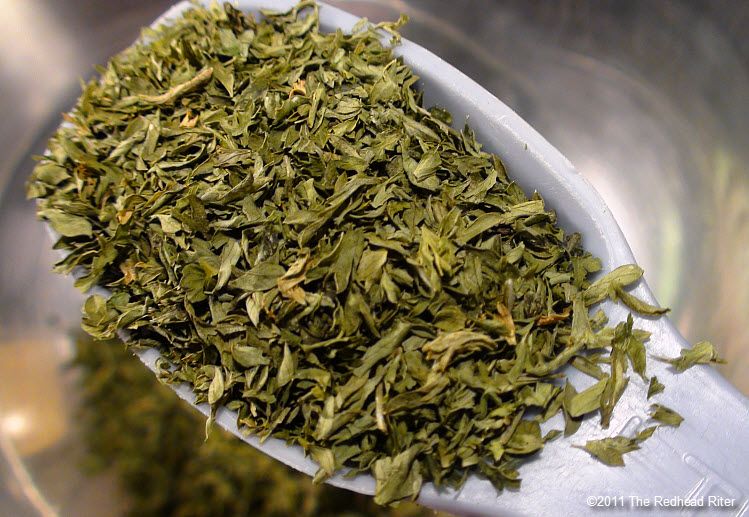
1 tablespoon parsley
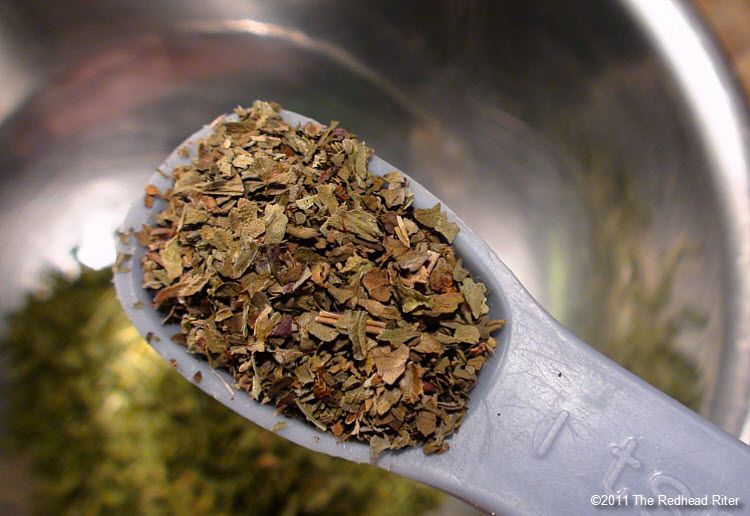
1 teaspoon basil
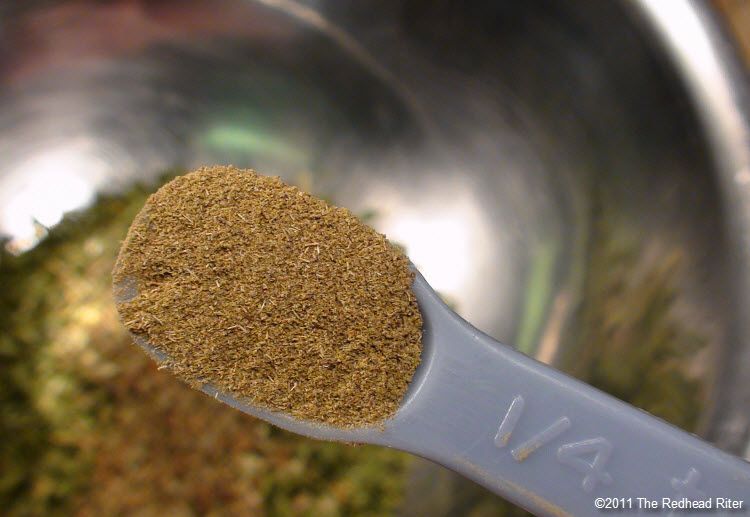
1/4 teaspoon thyme
1/2 teaspoon garlic
1/4 teaspoon cumin
1/8 teaspoon ground celery seed
3 strips lemon zest
32 ounces chicken broth
Directions:
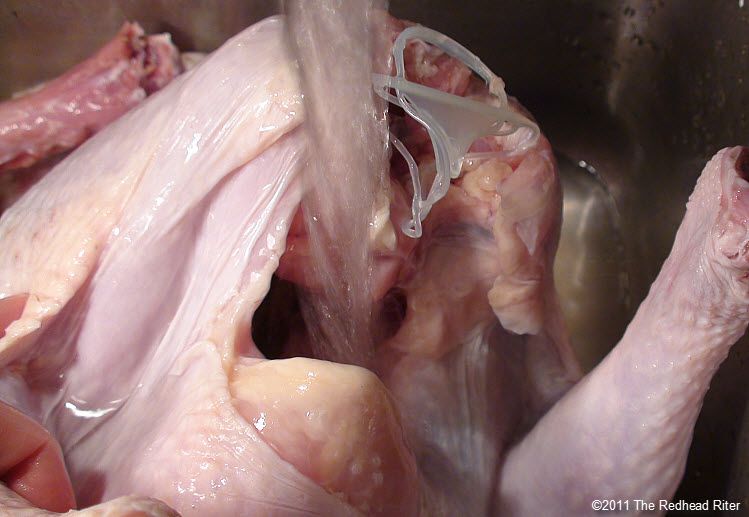
Remove the turkey’s legs from the plastic clip. Don’t ruin the plastic clip and you don’t have to completely separate it from the bird. Just take the legs out of it. Now inside the cavity of the turkey, you will find a bag of innards such as the liver and heart.
Take the bag out of the turkey cavity. You will also find the turkey neck. Be sure to pull it out too. Do not discard all this stuff!
Now turn the cold water on high and rinse the turkey. Fill the cavity full of water and rinse the innards too. Let the water drain from the turkey while you prepare the pan.
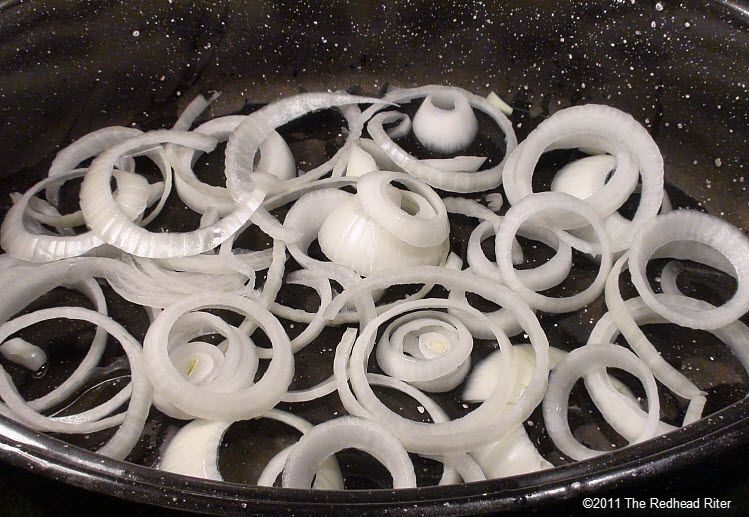
In a large roasting pan, line the bottom with a large sliced onion.
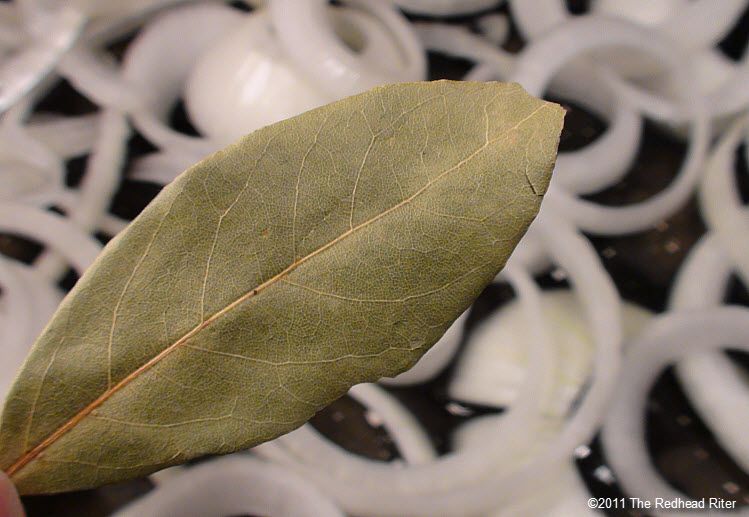
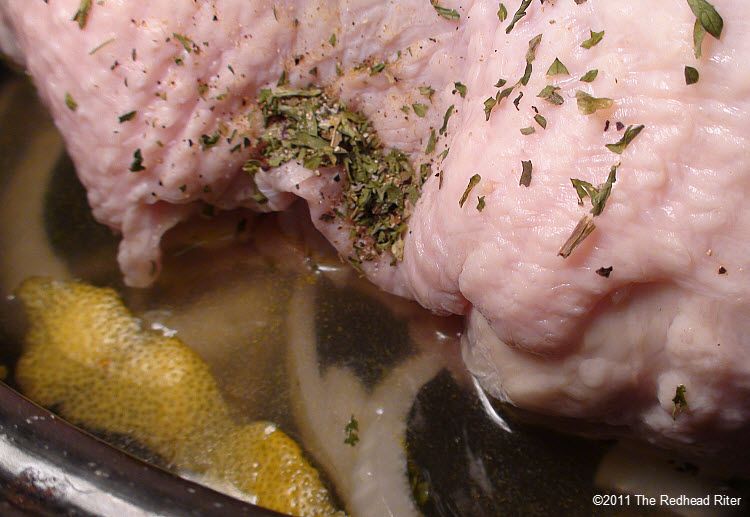
Now comes the really fun part…It’s the artistic part of cooking a turkey. Use the prettiest bay leaves you have in the container. Add bay leaves under the skin
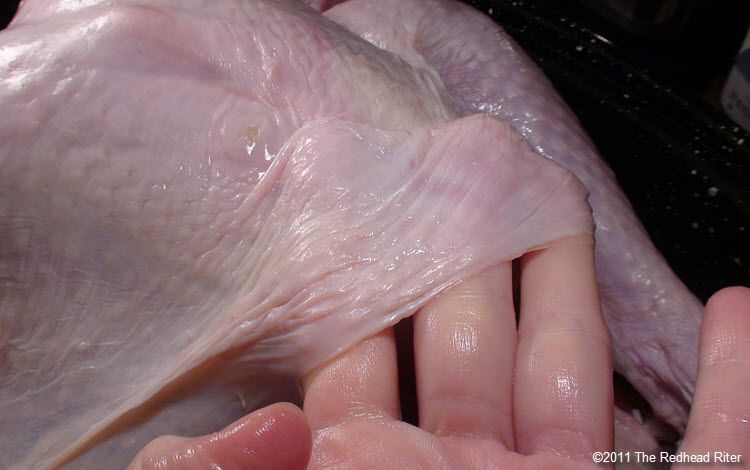
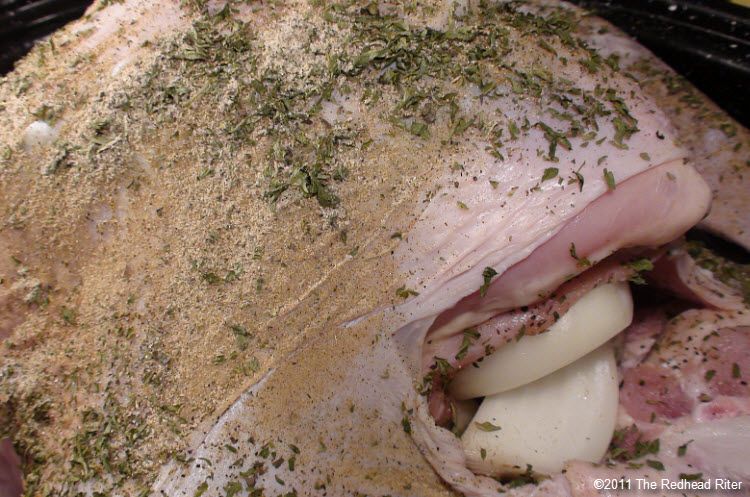
Carefully separate the turkey skin from the breast meat using your fingertips to avoid ripping the skin. Softly and gently separate. That’s the key to prevent the ripping of the skin.
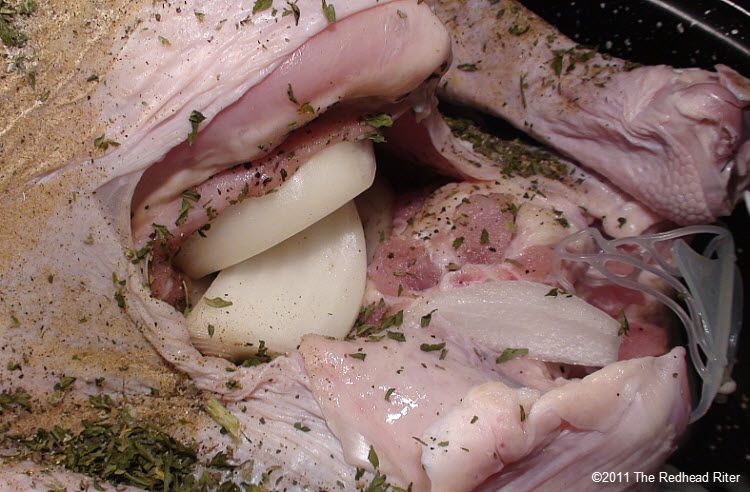
Very carefully arrange the bay leaves between the skin and breast meat. You can make a design or just lay them under the skin. Now put a bay leaf inside the cavity on one end and a couple bay leaves in the other end.
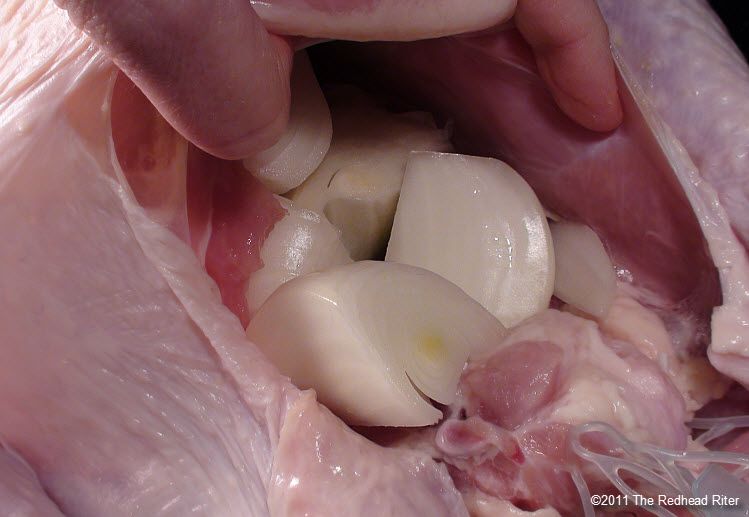
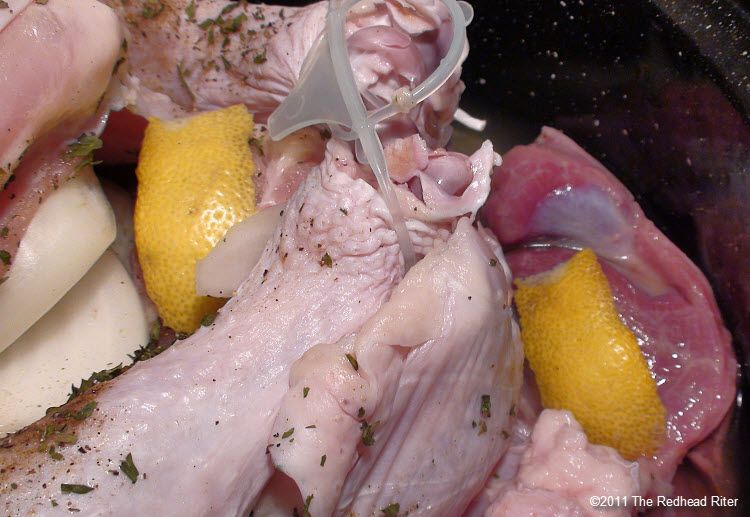
Cut an onion in quarters and put it inside the turkey cavity.
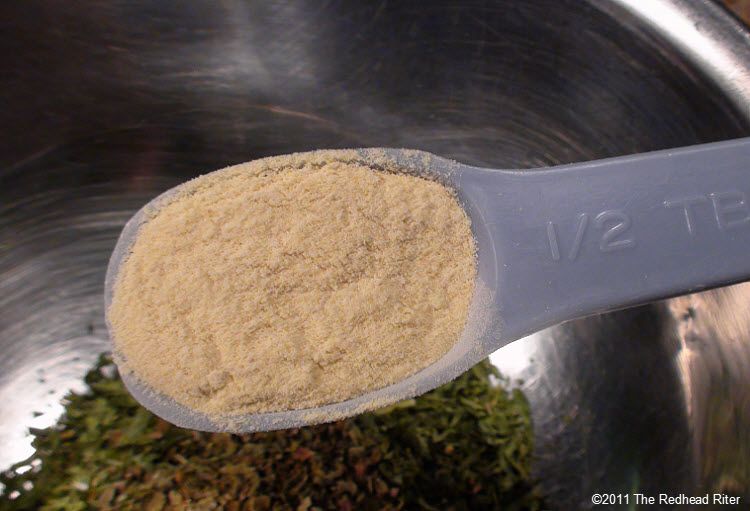
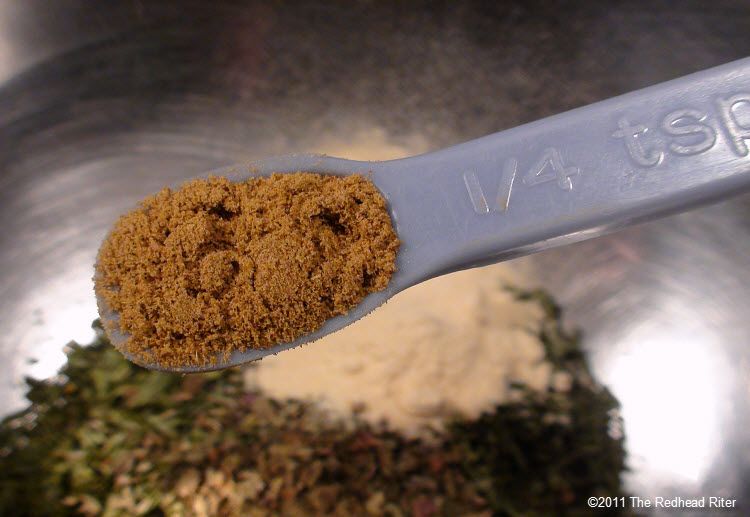
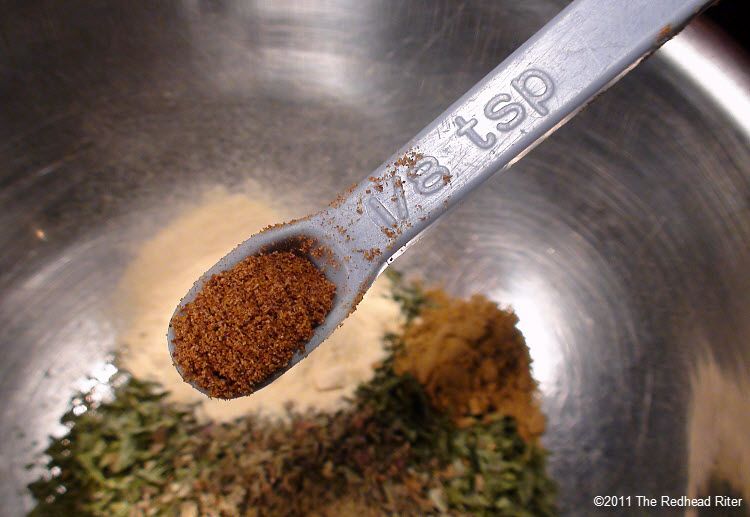
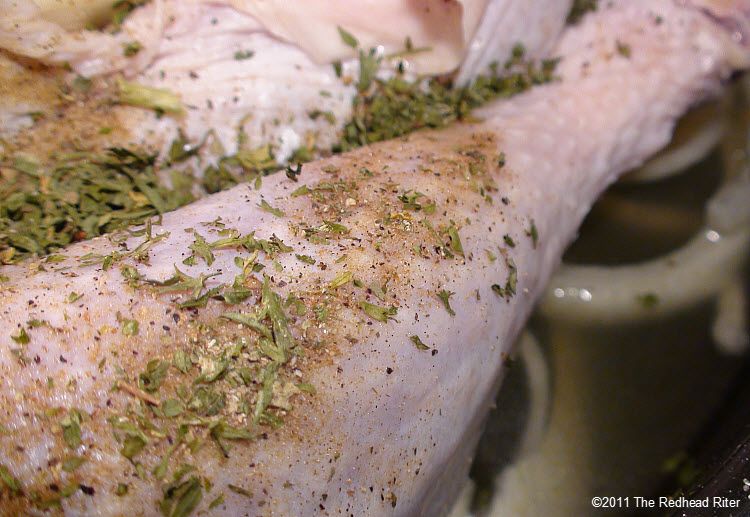
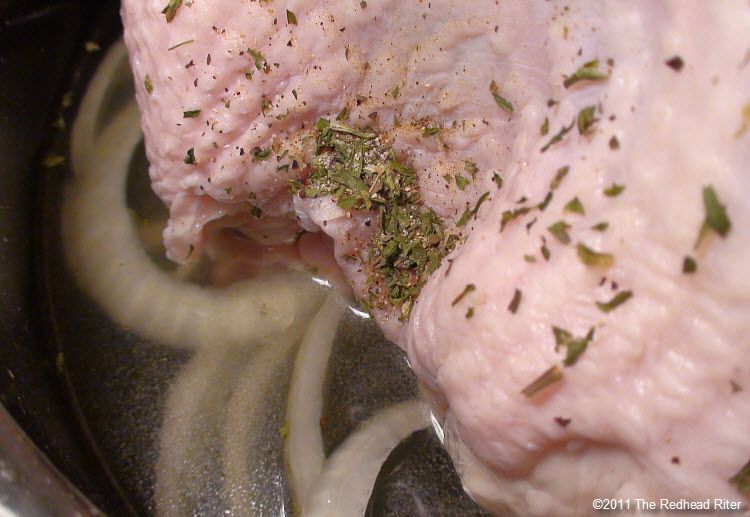
In a separate bowl combine pepper, salt, dried parsley, basil, thyme, garlic, cumin, and ground celery seed. Pat most of the mixture all over the outside of the turkey.
I took the onion out of the cavity and sprinkled the rest of the spice mixture inside the turkey.
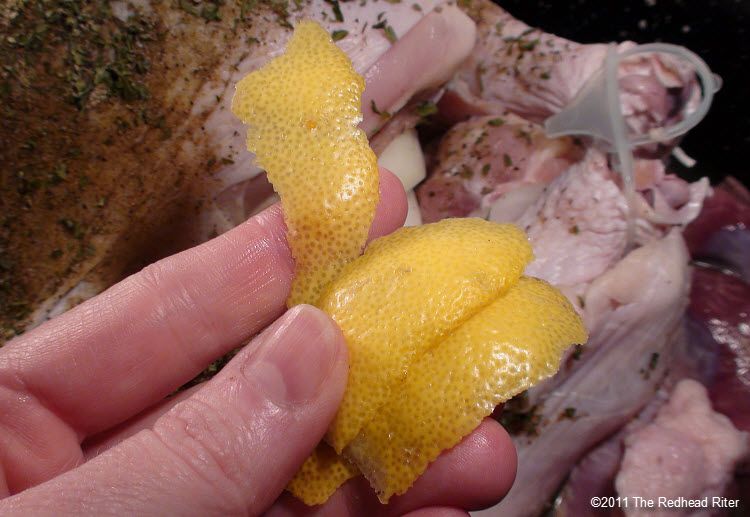
Now add the chicken broth to the pan around the turkey. Peel off three medium size pieces of lemon zest. Put one in the broth at one end of the turkey and put the other two in the cavity at the other end or in the broth.
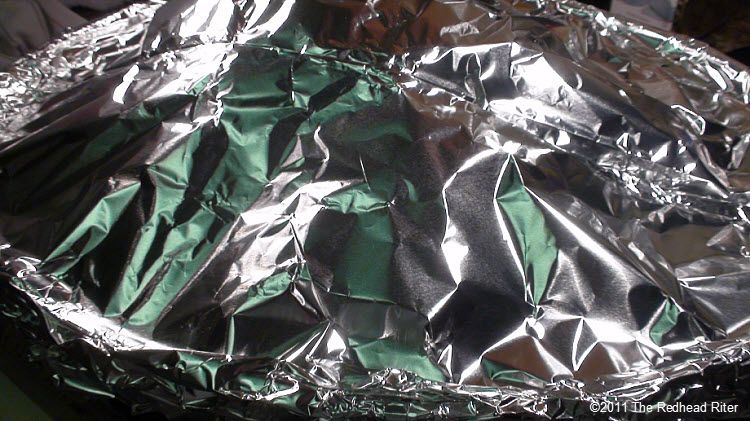
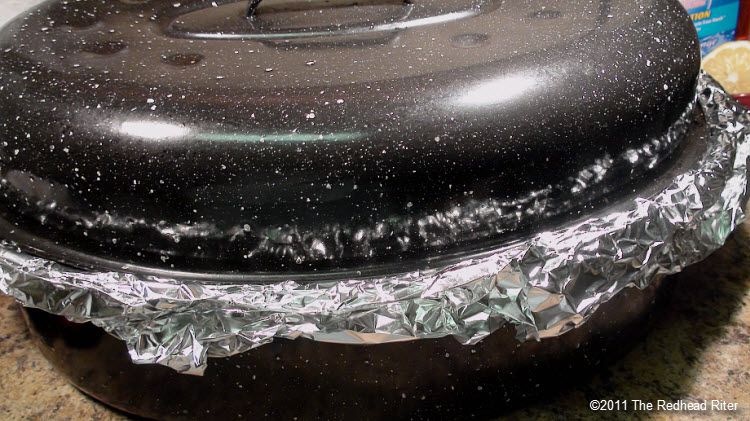
Seal the roasting pan base tightly with aluminum foil. Put the lid on tightly. Bake in a preheated 450 degree Fahrenheit oven for 30 minutes. Reduce the heat to 325 degrees Fahrenheit and cook until done – approximately 4 hours for a 21 pound turkey. Do not peek or open the aluminum foil. Just trust me and bake it 12 minutes per pound. .


Yummy!
Sherry I want to thank you for this delicious recipe. I have used it for the last 3 Thanksgivings and it always turns out just like you describe. The details you give and the pictures help so much. Turkey is no longer a challenge and I look forward to making it with confidence every year.
Yay! I’m so glad it has helped you!
Looks good, of course, I cannot use the onions though I'd love to. My husband will not touch anything with onions in it. You have given me some ideas for the next time I make a turkey.
PERFECT!!! I have always been intimidated by the idea of cooking a whole turkey. My first attempt, using the package instructions, turned out dry and lacked flavor. Today I tried your version and I feel like Martha Stewart. Everything is just as you said it would be and I am so pleased. Thank you!
I’m so glad you enjoyed a moist and juicy turkey Amy, I mean Martha! 😀
I have a question it won’t fit in a roasting pan then what do you do??? Can I cook it a bag or no
Put it in the bottom part of the roasting pan and cover it with a couple sheets of aluminum foil. 😀 I’ve done that too!
Does the turkey need any butter to become moist?
No butter necessary. 🙂 It will be so moist that it will fall off the bone!
Don’t know what happened to my previous comment. .. what happens w neck and innards and is it 12minutes per pound besides the initial 30minutes or all together?
Thx!
You can either eat the innards, use them in the gravy or throw them out.
Yes, 12 minutes per pound. The 30 minutes at the higher temperature is included in the total cooking time.
I made this turkey today. It was my turn to cook. I was so scared my mom and sisters would be disappointed. I followed the directions exactly. It was delicious. Everyone commented at how wonderful it tasted and how juicy it was. I felt so good. Thank you so much for posting this recipe and saving my Thanksgiving.
I’m so glad your family enjoyed the turkey! Thanks for telling me!!! 🙂
What about stuffing? Can I put stuffing in it as well as what you’ve suggested?
I don’t stuff my bird Jessica, but I’m sure you can put stuffing in it. The big thing about it though is that the meat is going to “fall off the bone” so there won’t be anything holding the stuffing in after your baked it all.
So, I’m planning to use your turkey cooking instructions to make my first turkey. I have some questions.
1) My roasting pan doesn’t have a cover. If I just cover it tightly with foil will it be OK? Should I cover it twice?
2) I have a wire rack to set my turkey on. Should I use it, or should I place it directly on the onions & broth?
3) Many turkey cooking instructions recommend letting it rest for approx. 30 minutes after removing it from the oven and before cutting the turkey. What do you recommend?
Thanks!
Sorry I have been away from my computer for a few days, Jill. Let me answer your questions for future reference:
1) You can cover the pan with foil and you don’t need to do it twice.
2) Set the turkey directly on the onions and don’t use a rack in the roaster.
3) This is not a “carving” turkey. The meat will fall off the bone, so it doesn’t matter if you let it rest or not.
Happy future turkey cooking!
Sorry I’m a little confused – you said to put the onion in the cavity but then when you spread the seasonings on – you said I took the onion out. Do you put the onions back in then?
Thanks this sounds delicious – i’m trying it tomorrow
I DID put the onions back into the turkey cavity. 🙂 Enjoy!
Moist, Fall of the Bone Turkey …. it definitely lived up to it’s name! I made this yesterday and it was wonderful … enjoyed by everyone! My husband told me not to lose the recipe! LOL!
🙂 I’m so glad you all enjoyed the turkey. If you ever lose the recipe, just pop on over and get it anytime. 😉
Ok I did everything u said to do and the turkey is in the oven right now. I’m hoping and praying that it is everything you said it would be! I’m excited and nervous to see how it turns out
LOL I can always guarantee you this…if I put it on my blog and say it is super yummy, then it will be super yummy! LOL
Loved it! I did everything you said and the turkey turned out AMAZING! I’m definitely doing this again next year!
😀 I’m so glad you enjoyed the turkey. I just love that it is sooooooooooooo moist. 🙂
I just wanted to say thank you for this recipe!! I followed it exactly although I did brine it over night. Anyhow, my family raved that this was the best turkey they had every eaten. The flavor was absolutely wonderful and it was sooo moist. My sister who wont eat turkey was pounding this down like she hadn’t eaten in years. I usually wont eat white meat but I almost preferred it. I printed this out and added it to my cookbook so we can enjoy it for years to come. I thought about using this to roast my chicken but I just don’t want it to loose its “wow”… I think I enjoy the responses almost as much as the turkey lol. Anyhow thanks again!
Here’s the brine recipe I used: http://www.wholefoodsmarket.com/holidays/guide-to-turkey/brining-turkey?crlt.pid=camp.vPtZskYwt2CF
Thank you and I’m so glad you all enjoyed the turkey so much. I’m always amazed at how dry some people’s turkeys are and I just never have that problem. 🙂
If you have a 12 pound turkey do you still use the same amount of bay leaves ?
Shyla, for a 12 lb turkey I would divide all the ingredients in half.
Hello! I made a post including healthy delicious Thanksgiving recipes. I thought you would like to know that I included your Turkey recipe. If you would like to check out the post please go to my website, It is under Munchy Monday, or if you scroll to the bottom of my home page you can see my recent posts. Look for “How to stay healthy this Thanksgiving.”
Thank you, Have a wonderful day!
Thanks!
Hello!
So I have a 20lb turkey I’m about to bake. Should I bake it at 450 for 30 minutes and then after that bake it 12 mins per pound (4 hours)???
Yes! Have fun!
I love your turkey recipe. Everyone enjoy eating it and the meat fell right off the bone. Now I have to bake a turkey every year now.
🙂 Congrats! I’m glad you tried the recipe and everyone likes it!
I can’t wait to try out this recipe. My only question is Can I use a frozen turkey?
Yes, but you have to unthaw it before baking.
Hello Sherry,
I’m so excited to do this recipe, Thanksgiving is at my house for the first tme, I was scared of a dry turkey glad I bumped into your blog, also I have a question when did you take your the frozen turkey, how long you left it out before you started to season it also did you brine it first? So sorry for all the questions just very nervous about messing it ip. My turkey is 12.87 lbs.
Thank you
I take my turkey out of the freezer and put it in the refrigerator 2 days before Thanksgiving. Then depending on how big the turkey is and how frozen it still is the day before Thanksgiving, I put it in a sink full of cold water to unthaw all the way. 🙂
what about the plastic piece? do I remove it or put legs back in it? doesn’t it melt?
The plastic piece does not melt and yes, you can put the legs back in it to hold them together or tie the legs with string.
I’m so anxious to get started! I just need to ask about the plastic part. You said not to take it completely out? So do I leave it in the turkey as it’s cooking? It feels like a dumb question but I would rather ask then make a dumb move! Lol! Thank u so much for saving us rooky 1st timers!!!
The plastic part to hold the legs together can remain on the legs or you can tie the legs with string. 🙂
Thank you so much for sharing your wonderful recipe and all the pictures – I am so excited to make this tomorrow my mouth is watering!!! I’ve got a monster bird, 26+ pounds – I should have butchered a few weeks ago but didn’t realize how big she was getting!! So I was concerned about the very best way to not have the meat be tough.I was planning on brining but read some about the downsides and decided against it. Have you ever brined? Sounds like you lose some in texture and flavor of the meat that way… I’ve been aging in fridge since Monday, and am hopeful your recipe will do the trick. Thanks again!!
I’ve never brined. I like the recipe just the way it is, so I don’t try anything different…yet. LOL
If I’m making 2 turkeys side by side in one big pot and covering with aluminum foil how long should I cook that. And will that still make it moist and taste good?
I’ve never done that before Stephanie, but I would cook it longer than the time you are suppose to cook the largest turkey.
My sister is telling me no bag is a guaranteed dry turkey! Grrrr I did everything right and its sitting in the fridge now. My only concern now is that I think it’s a 13-15lb turkey and I didn’t cut the recipe in half!! It’ll be okay right? I MUST PROVE MY SISTER WRONG! Lol
That’s funny! This turkey WILL NOT be dry if you follow the directions and you do NOT need a bag!
I followed this recipe yesterday and it was so tasty!!! My family was impressed and said this was the best turkey we have had. It was so easy to make too. Thanks so much!
My pleasure Gina! Thank you!
Hi there! I was wondering, once covered and cooking is basting the turkey requires at all? Or just keep it closed tight and cook?
No basting required!
This is the most flavorful and moist turkey’s I have ever cooked. I put the dry seasoning in the the cavity before putting in the onions. Cooked mine in a electric roaster over, didn’t brown but who cares it was so delicious. Roasted a little faster than in a regular oven, 18.4# turkey reached 150 degrees in a little less than 2 1/2 hours, I reduced heat to 170 degrees and cooked for another 1 1/2 hours and took out when temp reached 175 degrees. Let sit for about 15 minutes then carved it. Easiest carve I have ever done, followed Alton Brown’s easy way. I can’t say enough about great it was.
🙂 Glad that you enjoyed it!
Hi! I’m not sure I understand the cooking time. On one of your reply’s you said “yes, 12 minutes per pound. The 30 minutes at the the higher temperature is included in the total cooking time.”
Someone else asked you ” should I bake it at 450 for 30 minutes and then after that bake it 12 minutes per pound (4 hours)?”.
So are you saying a total of 4 hours plus 30 minutes total cooking time or 3&1/2 hours plus the 30 minutes of total cooking time? Thank you!
I’m not sure of the cooking time. Is it 30 minutes and then 4 hours? Or is it 30 min and 3&1/2 hours?
I can’t wait for Thanksgiving to make this. Thank you!
I am a busy mom and will try this Thanksgiving and will tell you then. Look forward to trying this.
Be Blessed
How much bay leaves do you stuff under the skin? Is it all around the turkey or in certain spots?? Thanks
I usually use between 4-6 depending on the size of the leaf and I put them on the breast meat.
Is there any advantage to using chicken broth vrs turkey broth?
Taste preference. That’s it!
Can I cook the turkey in an electric roaster?
I read all the reviews & the turkey sounds great. Going to try it this thanksgiving. I just have one question. Do you remove the bay leaves from under the skin after cooking? Hope this isn’t a silly question! Thank you in advance!
Nope. I leave them. They look pretty to me.
🙂
By the way, fellow redhead!!!
So how do I get my turkey broth for my home made Gravy And I also use the dripping for my home made egg noodles:( so I do I do now?
I’m going to try this for Thanksgiving this year my first time making a turkey only question is I hate onions and so does my kids can you taste the onion once it is done cooking
Hey! I’m making two small turkeys for thanksgiving this year, and I’m thinking about making one of them according to your recipe.. that way no one will be disappointed AND I get to try this out 😀 but I’m also thinking.. what if you want the turkey super moist but not completely FALL OFF BONE moist, is that what I get if I follow this recipe but reduce the cooking time with, say, one hour?
Hi, I followed your recipe and have my turkey in the oven right now. I wanted a moist, tender turkey on the inside but my family likes crisper skin. Is there a way to “finish it off” by perhaps increasing the temp at the end and removing the foil? If not, maybe I can just remove the wings and deep fry them? I like the breast so I’m all good. Just trying to please everyone
Hmm I don’t know what happened to my comment, I’ll write a shorter one: if I only want the turkey ALMOST “fall off bone moist”, can I reduce the cooking time?:) follow the recipe but just reduce with, say, one hour? I want to be able to cut pieces out so not entirely fall off bone moist.. is that possible?:)
Another comment on the onions — my daughter is severely allergic to onions. I make my own allergy-friendly chicken broth, so I am good for that part of the recipe, but can I substitute something else for the onion (or leave it out altogether?)
Thank you for this wonderful recipe. I would like to know if there is a way to get the turkey golden brown?
Is the bay leaf necessary to make it tender? I really like putting lemons under the skin, but do not want to ruin your moist Turkey recipe.
Hi there! i just came across your recipe and am very excited to try it out. I just had a question about how you place the turkey in the pan. Is it breast side up or down? Do I need to tuck the wings in or tie them in addition to tying the legs? Thanks so much!
I have used this roasting method several times – always turns out great – make use you have a deep enough pan for all the juice.
I just baked my turkey and it came out sitting in a pool of broth and juices. Is this expected, or is there something I need to do? I don’t want it to be undercooked. 17 pounds net weight, 30 minutes at 450 degrees and then 4 hours at 325.
The broth and juices is what you use to make the gravy.
I tried the “moist fall off the bone” turkey recipe today. Do you use heavy duty aluminum foil or regular aluminum foil?
I followed your directions exactly. After the prescribed amount of time, I took the bird out of the oven and took off the aluminum foil. It definitely did not fall off the bone. In fact it was pink and undercooked, I had to put it back in the oven for another 40 minutes to bring it up to 165°F Mark. I left it uncovered to hopefully speed up the cooking time and also to brown it. It was still somewhat tough, and required normal carving. It was very tasty however. Just wondering if the heavy duty aluminum foil I used extended the time required for cooking?
The turkey has to cook a long time…”Seal the roasting pan base tightly with aluminum foil. Put the lid on tightly. Bake in a preheated 450 degree Fahrenheit oven for 30 minutes. Reduce the heat to 325 degrees Fahrenheit and cook until done – approximately 4 hours for a 21 pound turkey. Do not peek or open the aluminum foil. Just trust me and bake it 12 minutes per pound.”
It doesn’t matter what weight aluminum foil you use.
I’m guessing you either had a larger turkey or didn’t cooking it at 325F.
Do I place the Turkey on the middle rack or the lower rack?
The middle rack.